


This was posted on a Mercedes Forum many years ago – I have been asked to re-post, as the article and pictures have long since disappeared.
The original article had a few thousand hits, so I guess there is still demand for it!
Fitting a Reverse Parking Aid to my 2002 Mercedes A-Class (A170 CDi)
This was a very simple job that took only a couple of hours to complete.
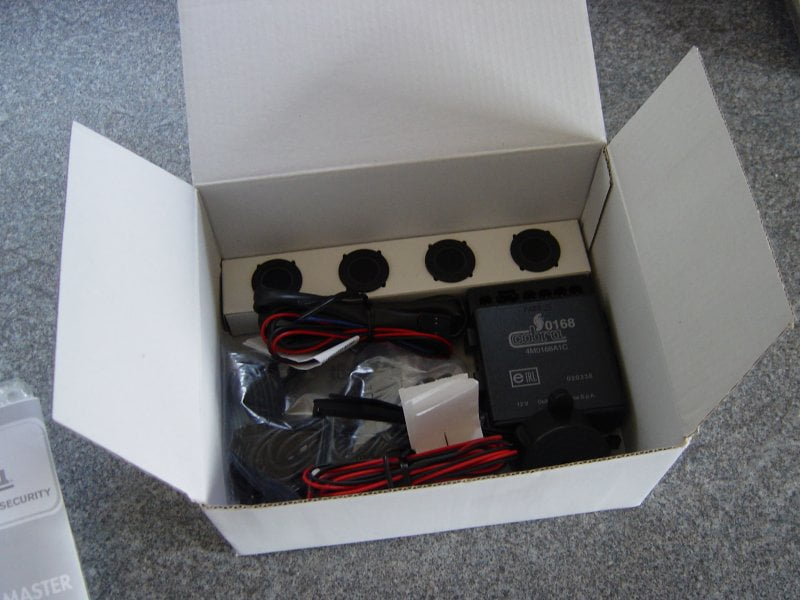
I used the four sensor parking aid called Parkmaster 4 by Cobra.
I spent some time researching what was considered the most reliable and best quality.
I purchased the unit from www.incardiscount.co.uk
The unit cost £100 all in.
The Cobra was the best compromise of price vs. quality and has received many positive accolades by the aftermarket specialists.
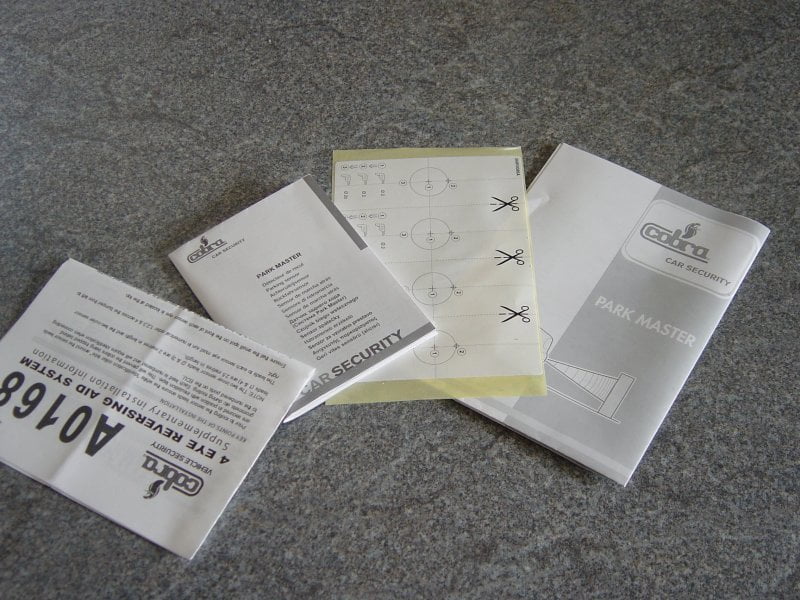
The Cobra kit came with very clear and concise installation instructions in a multitude of different languages.
Manuals, drilling templates, warranty – in all European languages
I used this as a chance to give the rear of the bumper a good clean
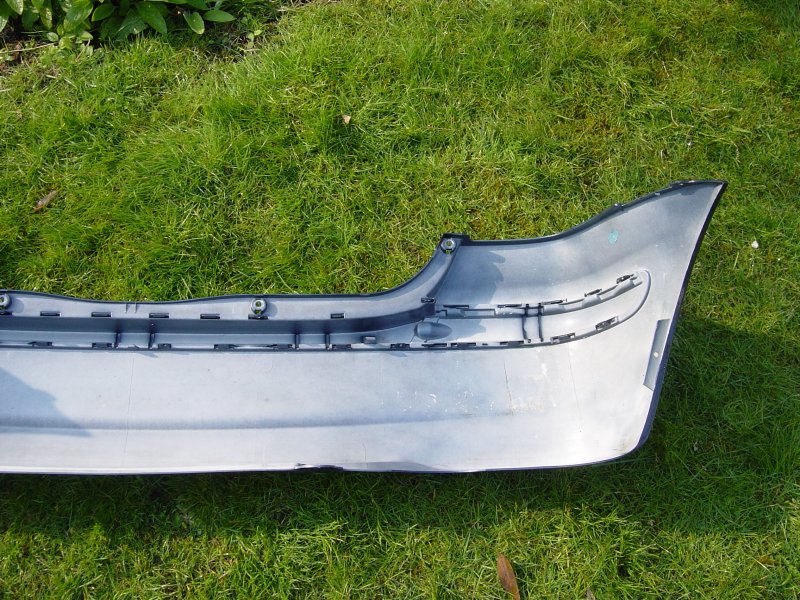
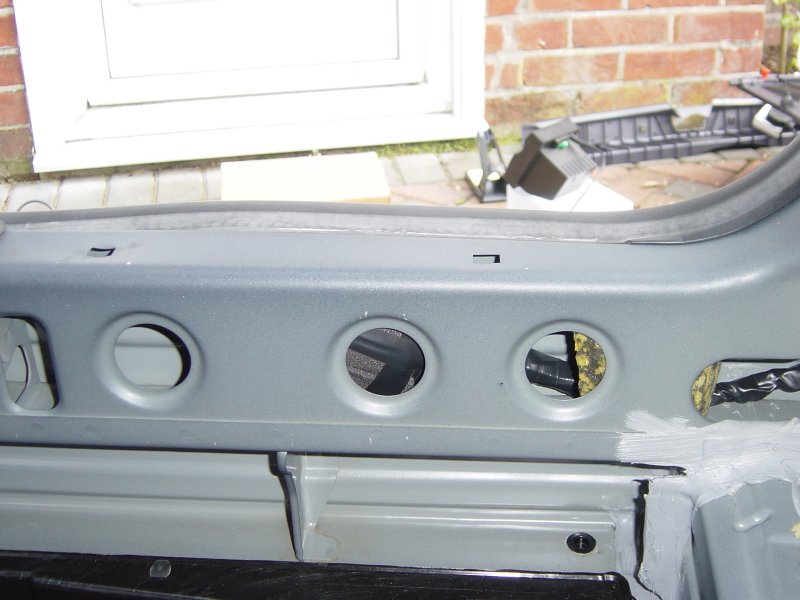
The close ups here show that there are four markings on the rear of the bumper for the factory fitted sensors
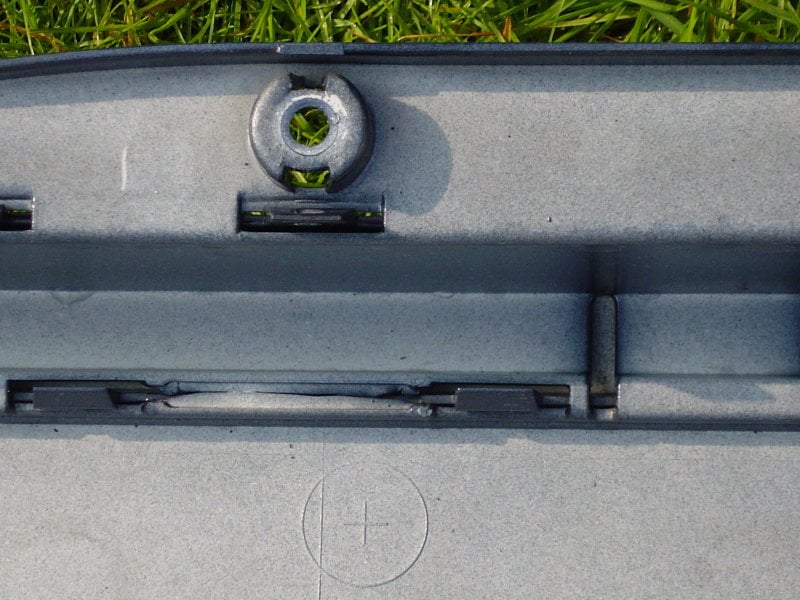
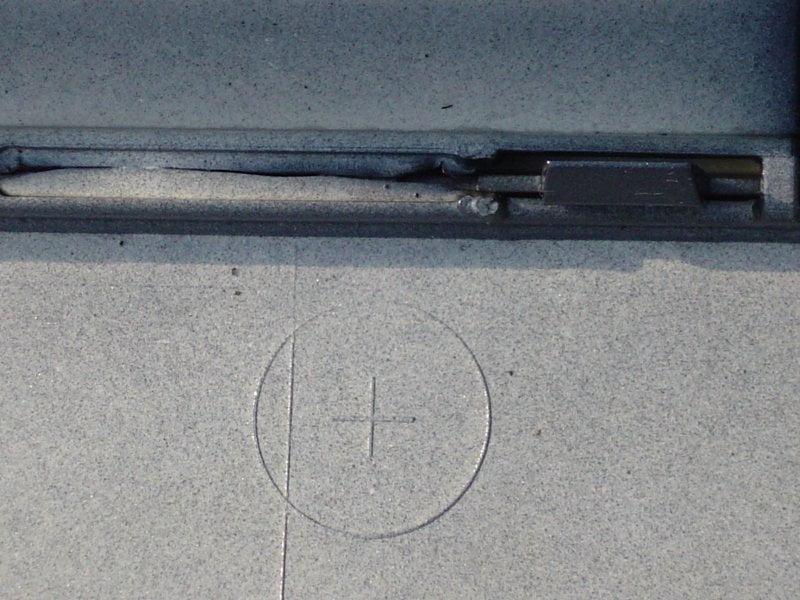
Drilling for the sensors – i first drilled a very small pilot hole from the rear of the bumper using the markings kindly provided by our friends at Mercedes Benz!
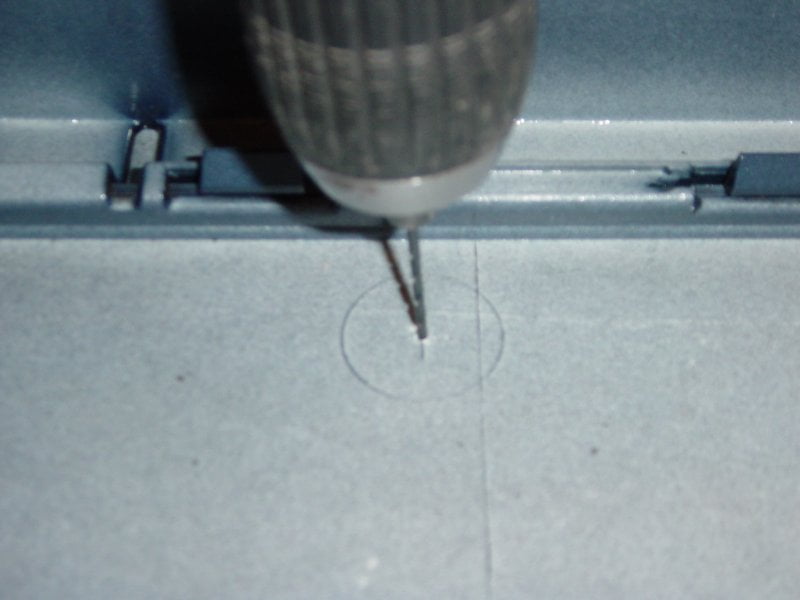
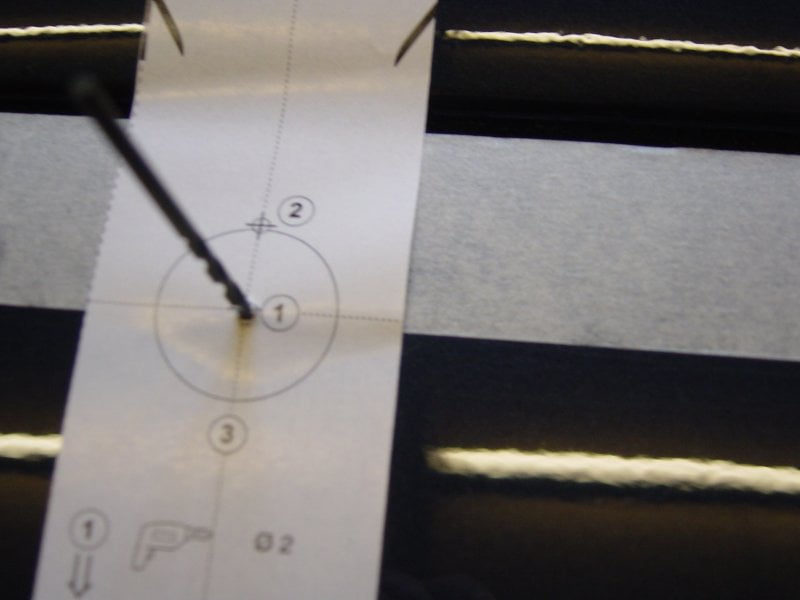
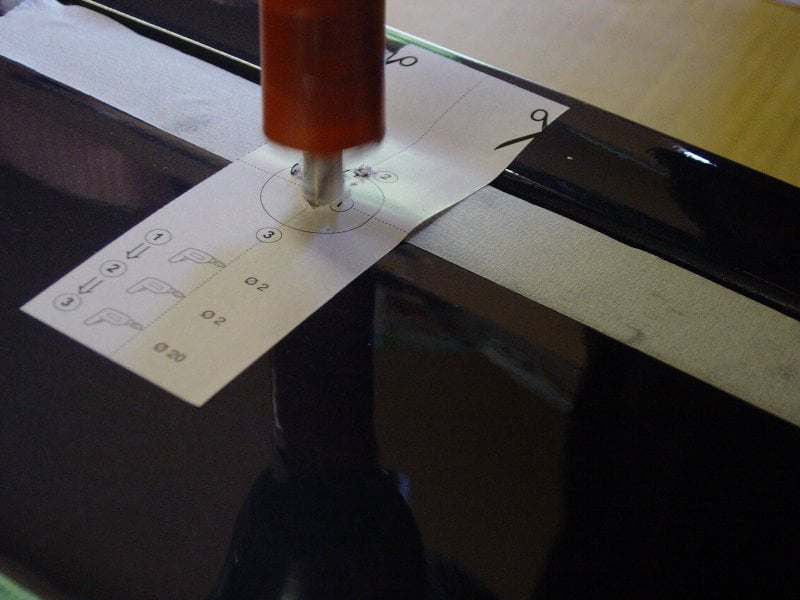
With the holes drilled, I could attach the self adhesive templates provided.
The reason for this is that you must drill a 2mm diameter hole (numbered 2 in the diagram) on the edge of the large hole.
This enables the ultrasonic sensor to locate nicely, and not swivel in it’s hole.
And now for the scary bit – using a holesaw to cut the large hole.
Be careful to drill at the correct speed (not too fast) as we don’t want to melt the plastic.
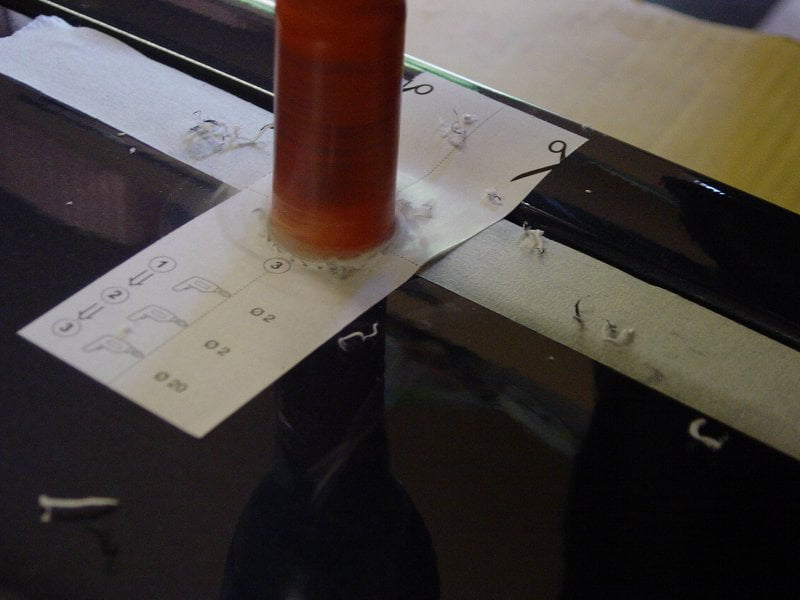
Similarly don’t go too slow, as we want a nice clean finish to our hole.
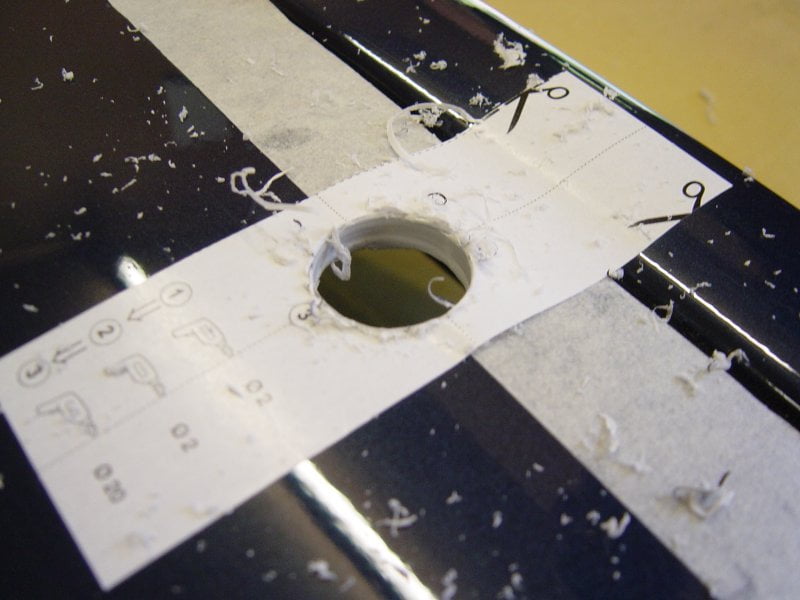
If you need to, clean the edge of the hole with some fine sand paper.

With all the plastic blown away, we can now reassemble the bumper.
Putting the foam insert in place first, and then clipping in the Ultrasonic Sensors
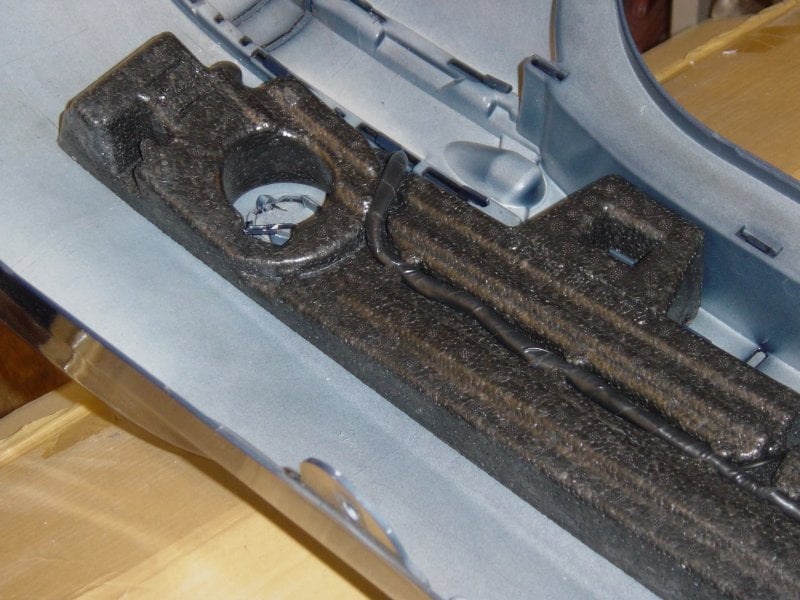
Once again our friends at Mercedes Benz have kindly left grooves in the foam insert for us to route our cables!
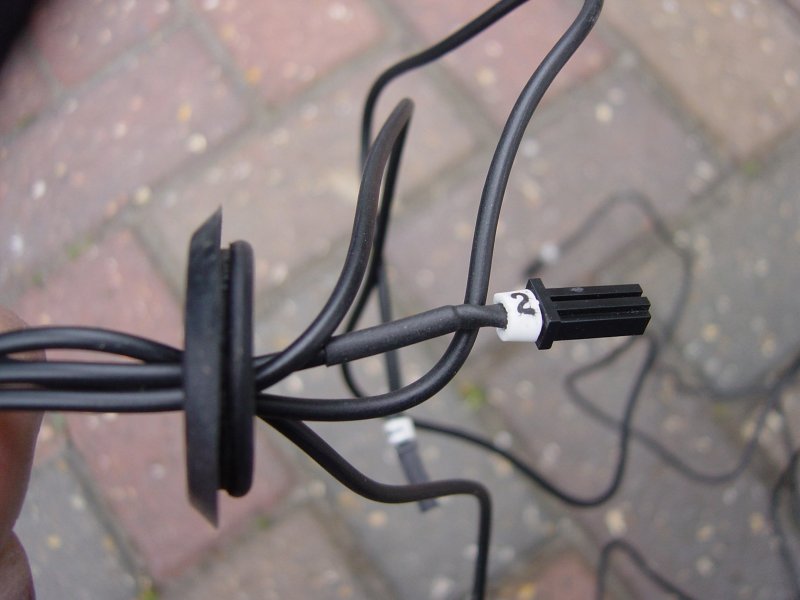
I loomed my four sensors, as it makes life a lot easier, and things tidier.
Simply measure out where the sensors are positioned and then wrap pvc insulation tape around the cables – this will keep them all together, and help them stay in the groove of the foam insert.
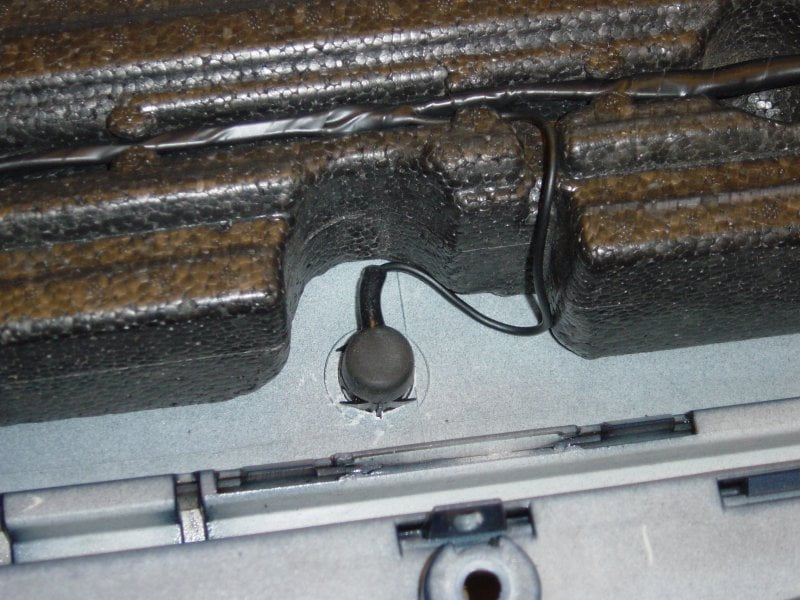
The sensors have waterproof rubber boots on them to prevent ingress of dust, dirt and moisture.
I liberally spread some silicone grease around the boot after fitting it, to help keep out the elements!
Now offer the bumper up to the rear of the car – you will find two unused rubber grommets on the left hand side of the car in exactly the right place!
Pierce a hole in the grommet, and push the cable through (it is easiest to remove the grommet to make the hole)
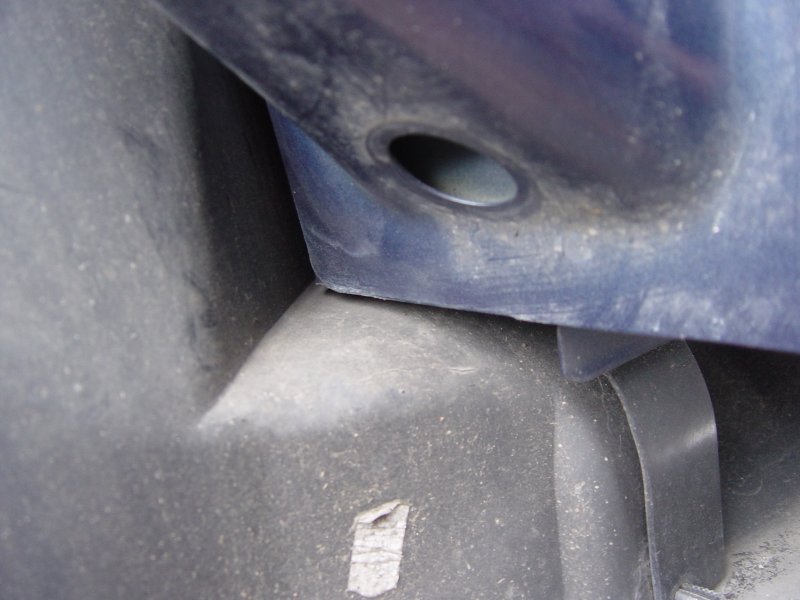
I then refitted the grommet and used some silicone sealant around the hole, to ensure moisture doesn’t sneak in.
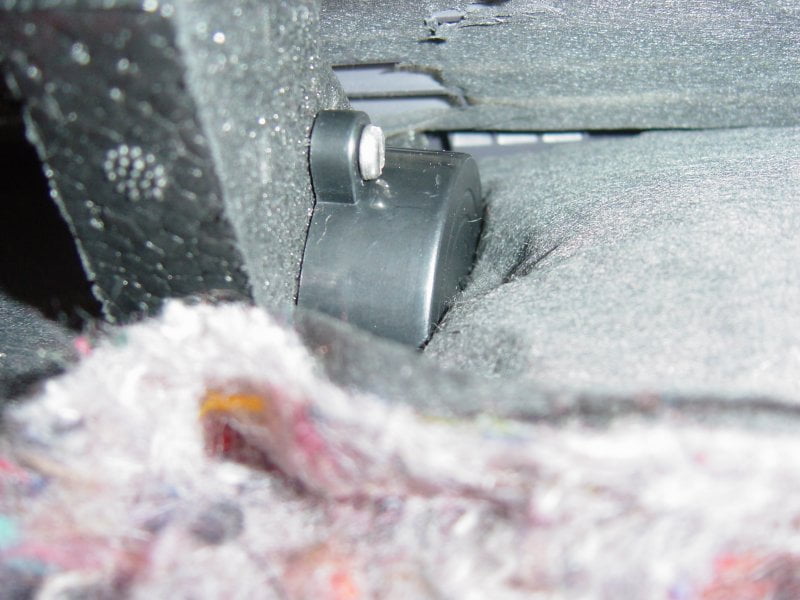
There are plenty of places to site the piezo buzzer.
I screwed it to the high density foam block between the cubby hole in the rear quarter panel and the air vent just below the rear window.
That way, it is completely out of site, but very easy to hear.
Alternatively Cobra provide self adhesive pads so you can stick it anywhere in or around the boot area.
Once again, I made the cables into a loom.
This is not a necessity, but I think it makes thinks look tidier and more professional.
… this time I used some foam tape, as the cables were to be placed in the cavity between the skins of the rear section.
I used foam tape to stop the cables from rattling around in the cavity.

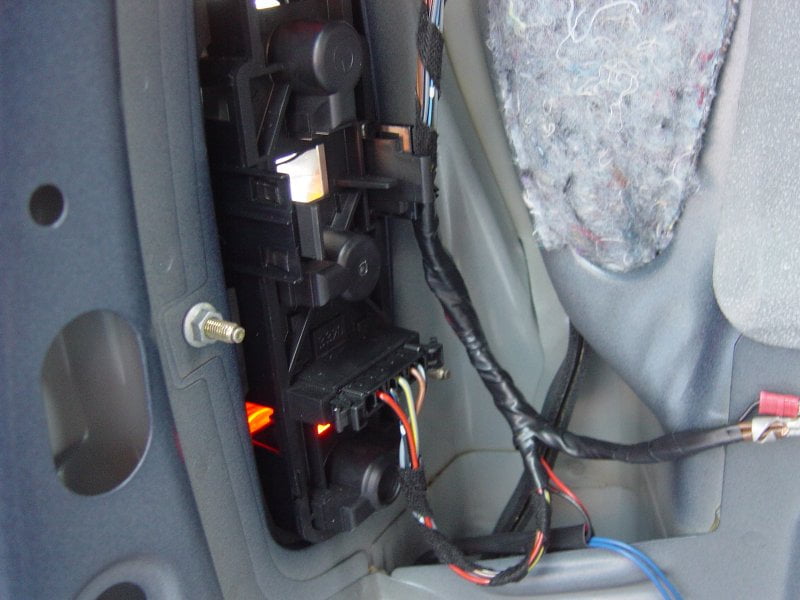
Plugging the control unit in is very simple. Just match up the letters and numbers!
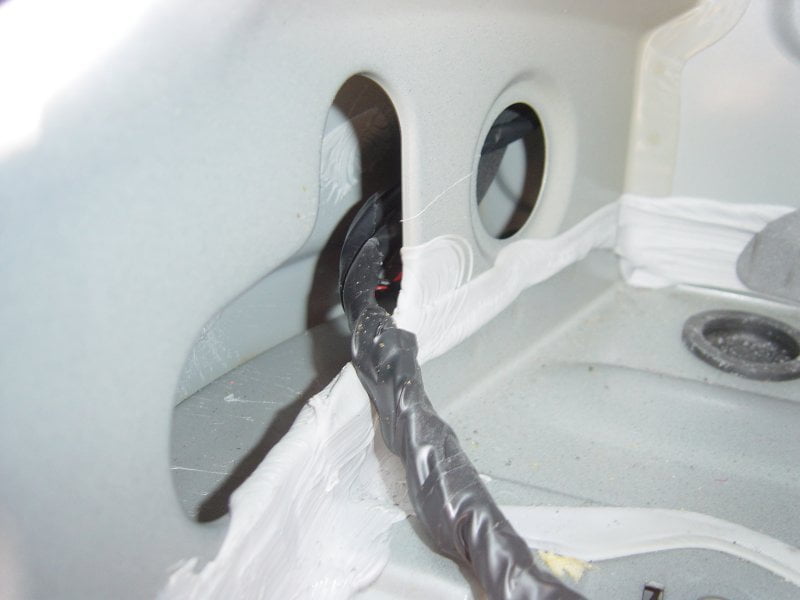
When it is connected, poke the unit back through the hole in the rear cavity.
There is a large piece of sound proofing sponge already in this hole – you can jam the control unit in here to stop it from rattling.
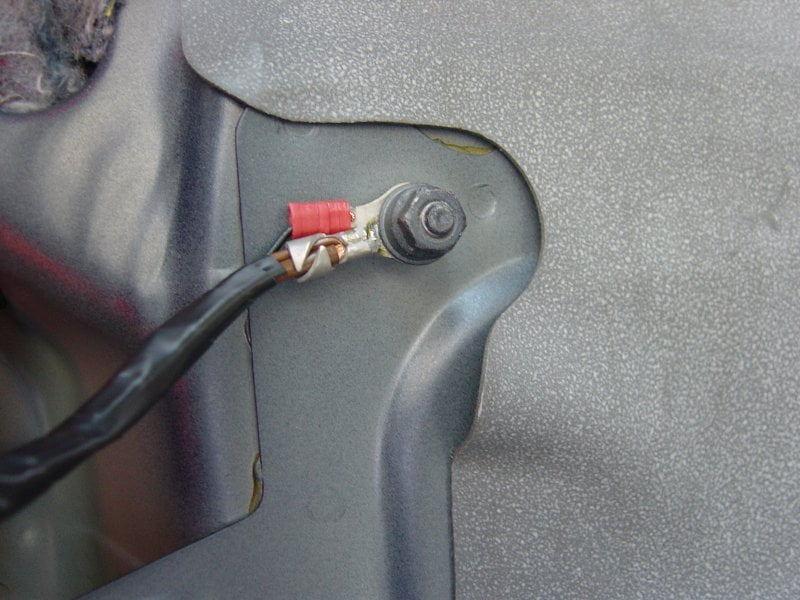
There are two connections for power – there is an earth stud near the rear light cluster.
The positive cable then attaches to the reversing light wire in the rear light cluster.
This is easily located by taking out the reversing light bulb, and following along the track.
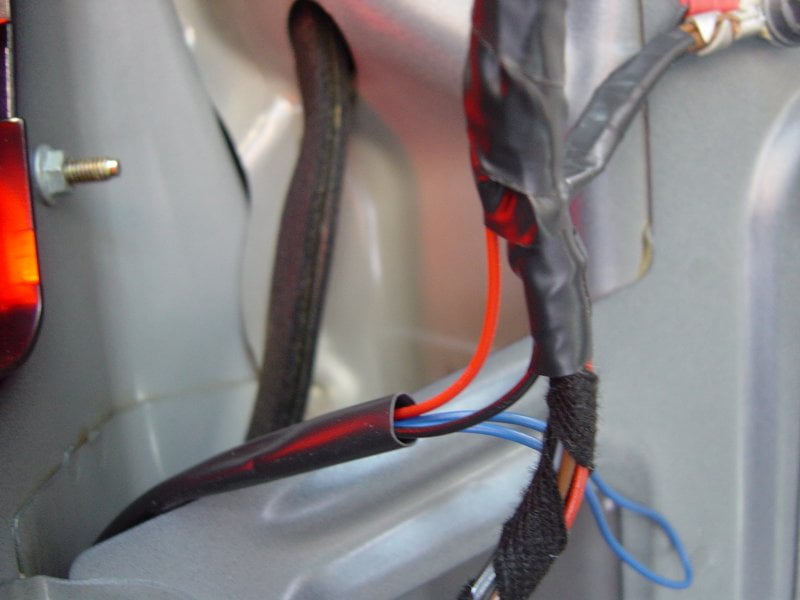
Here you can see that all the cables have been wrapped in pvc tape.
Its worth mentioning that Cobra provide a Scotchlok cable fastener that allows you to easily tee off the positive power connection from the reversing light.
I am not a fan of these fasteners, so I soldered the cable in-line instead – this is much preferred, as it provides a stronger and more reliable connection.
With the control unit and all the cabling neatly installed and hidden away, I can begin to put the inside of the boot trim back together.
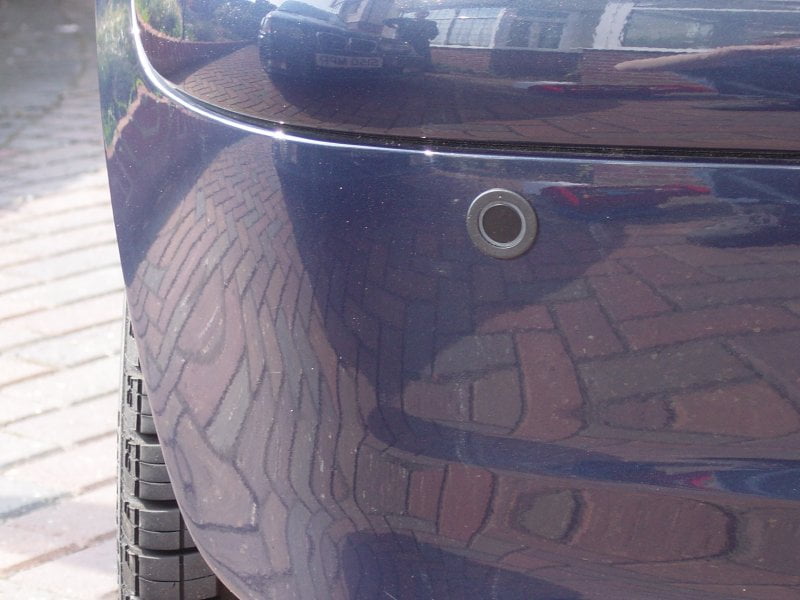
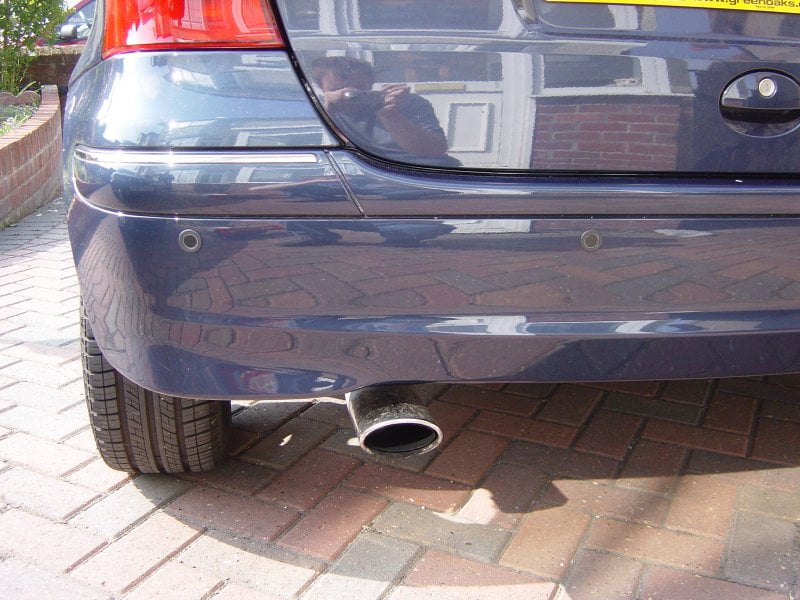
The finished article – the factory fitted ones are finished in the same colour as the bumper, but I think they look fine in black.
The Cobra kit comes with detailed instructions on how to paint them if you wish.
With everything in place, all I need to do is calibrate the system.
This is easily done by reversing up to a brick wall.
Park a set distance away (as determined in the instructions) and then cut the blue cable that plugs into the control unit (which I left neatly coiled up by the light bulb holder, so it is accessible through the carpet flap)
If you every need to re-calibrate (i.e. if you have a towbar fitted) you simply cross the two cut wires.
THAT’S IT – easily done!