
The bike that changed Steve Fox’s life!
Graham and Grant Tiller
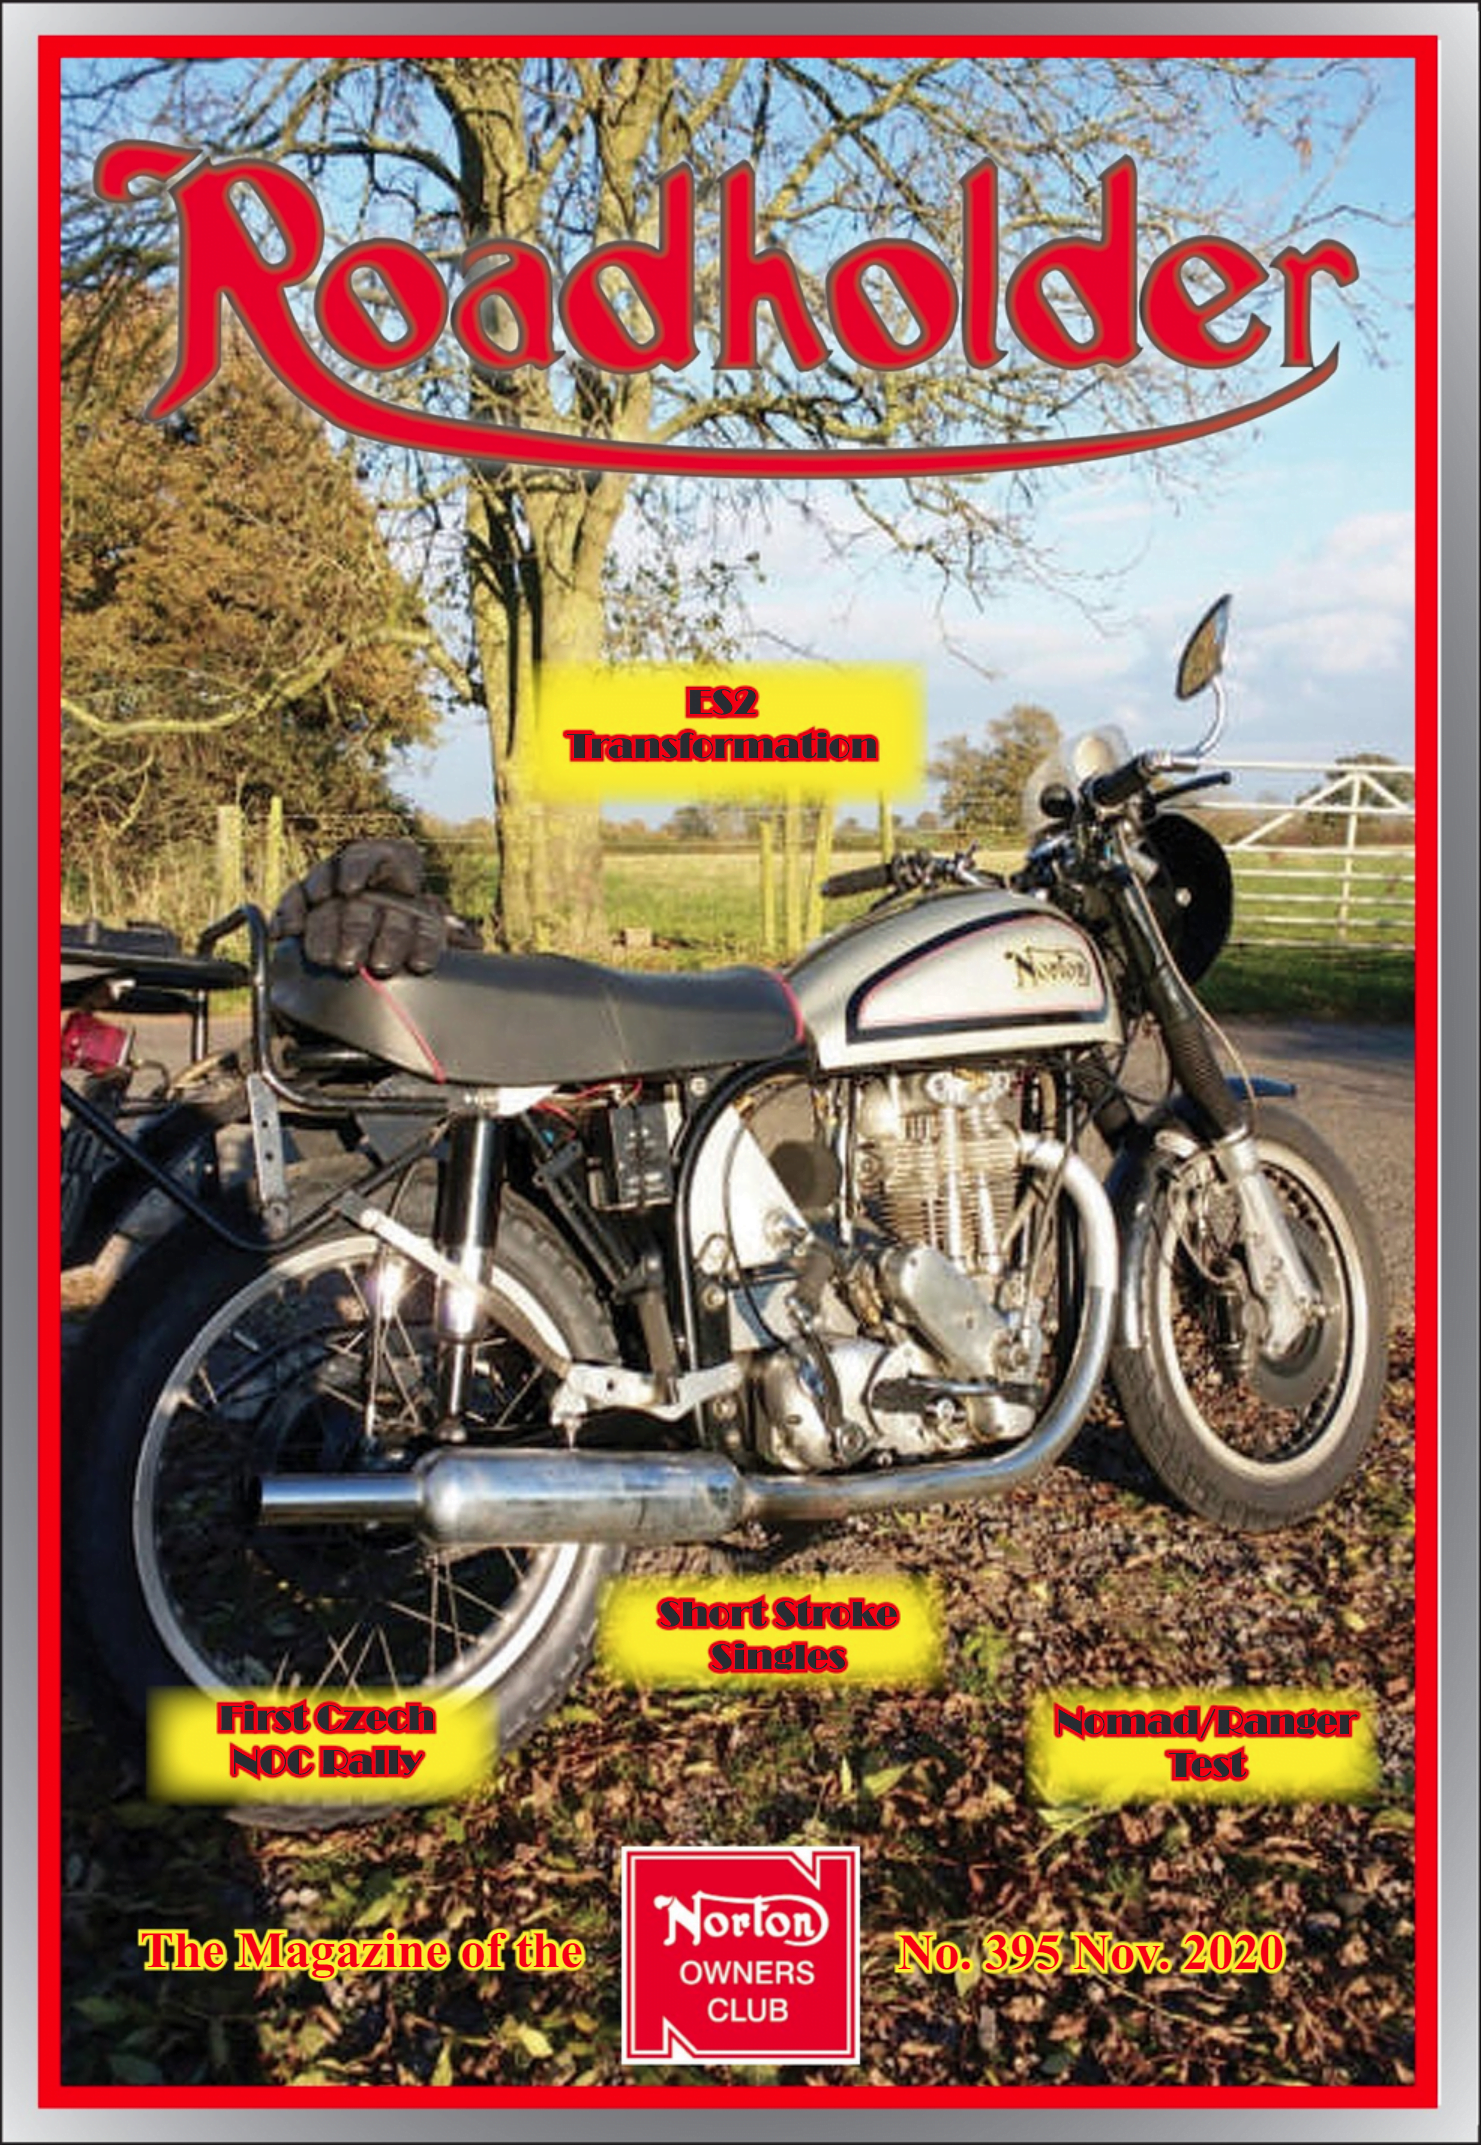
This article went out in the November copy (issue 395) of the Norton Owners Club magazine – Roadholder
So our ‘new’ donor bike was secured for less than a set of barrels and an SS head goes for on eBay.
And getting it home, we were very pleased with what we discovered.
The previous owner had started building the bike roughly and collecting parts in order to get a V5, but had lost heart with the project or run out of time along the way. So it came with no V5.
Everything had been covered in a thick layer of grease or oil, and the crankcase and barrels of the engine had been filled up with oil.
So, several buckets of hot, soapy water later and we could see something great!
The engine was in excellent condition – the head was superb, the barrels had a fresh hone, and the pistons were good.
The conrods were in superb condition too and were even matching!
So, we set about raiding the donor engine, stripping it right down.
We wanted to retain the original crankcase – the Dommie was a numbers matching bike, and we were keen to maintain that if we could.
The first thing we did, was address the breathing – an issue that the Norton engineers had a go at addressing several times during the life of the parallel twin, but never really sorted.
I was building up a Combat engine for another project at this point, and had been researching quite extensively engine breathing. I had also read the research of Rex Bunn, who’d done a lot of experimentation over the years with different breathers, and the effects of crankcase pressure and blow by.
I had formed my own strong ideas, and was already set on what I wanted to do with the breathing.
We blocked up the holes between the timing side and crank side using stainless grubscrews that we secured with JB Weld and then locked in place by centre punching the thread junction between the cases and the grubscrew – securing these is essential, so the belt and braces approach of chemical and mechanical fixing is not overkill by any stretch of the imagination.

We then drilled a new hole as low down as possible – you can see it in the picture circled in green – this is the new oil drain hole.
Keeping the drain hole lower like this means that the crankshaft pinion and intermediate gear would not be able to whip up the oil quite as much, as aerated oil does not go through the oil pump as nicely.
This is more of an issue with modern oils, as they contain detergents and friction modifiers so are definitely more prone to foaming and frothing.
On the drive side of the crankcase, we unscrewed the breather hose union and blanked off the hole. We would reassemble without the camshaft rotary breather plate and spring, as it would be excess to requirements.
We went up the route of fitting one of Jim Comstock’s sump plug breathers.
This is a reed valve built into the large sump plug.
Not only does it help the engine breathe better, taking the pressure off the drive side oil seal, (plus the tacho drive, camshaft/points seal and three bolts for the primary case on the Commando engine) but it has the added benefit of evacuating the oil from a wetsumped crankcase in just a couple of kicks.
Very clever, and superbly made – it would look just as good on the mantelpiece as it does on the bike!

Jim designed these for the Norton Commando, but I am pleased to report that they work superbly well on the Dommie too!
EDIT: These sump plug breathers are now made and sold exclusively by Kenny Cummings at NYC Norton to Jim’s original design.
The other thing we did was fitted a six-start crankshaft worm gear and matching oil pump gear – we wanted to feed oil to the head the same way as a Commando does – on the high pressure oil feed side instead of the return.
We fitted new, plain rocker shafts (the correct way round, with the holes facing out) in lieu of the scrolled ones that the Dommie has as standard.
With superb quality braided stainless lines from Venhill, the only thing left to do was restrict the feed a little. Because the Dommie engine isn’t canted forward like the Commando, oil does not drain down from the head quite as quickly.
So, in order to make sure we were not over oiling the top end or starving the oil feed to the crank, we restricted the flow very slightly by drilling and tapping for a grubscrew in the oil feed banjo bolt, and drilling it out.
We could watch the engine running with the rocker covers removed and make sure that we were happy with oil flow, and further drill out the restrictive grubscrew if we needed to.
The rest of the engine was built up using fresh gaskets and new hardware as needed.
This included new, correct head bolts, as well as a new copper head gasket (annealed prior to fitting)
The barrel spigot was not an issue any more, as the donor head hadn’t been skimmed to within a hair’s width of it’s life!

We are big advocates of Wellseal as opposed to Blue Hylomar and Red Hermetite.
Wellseal is a non-setting sealer, and we usually paint the paper gaskets in it prior to fitting.
We paint the set of gaskets, then hang them up in the workshop to go tacky – this comes with a warning though – Wellseal also makes very effective fly paper!
We were fitting a BT-H “Magneto” instead of keeping the standard Lucas K2F.
Aware of the timing issue between cylinders from before, we knew that the mag needed a rebuild.
Plus, the auto advance mechanism on the original Lucas was very tired, and new springs didn’t make a huge amount of difference – while a new one could be bought, they are priced at £250 which is a huge chunk towards funding the BT-H.

I put the word Magneto in quotes, as actually these new digital units are a CDI ignition system that drives two small ignition coils.
It incorporates an electronic advance and retard and has an advance curve that makes for very easy starting.
All in a housing that looks like a proper mag!
In fact, I would go as far to say that unless you knew what you were looking for, you’d be hard pushed to notice!
However, this meant fitting a plain magneto sprocket in lieu of the automatic advance unit.

Roger at RGM came to the rescue on that, as he so often does!
We are always amazed at the speed of delivery with RGM – often, it feels like there is a new delivery on the doorstep before we have finished placing the order online. Very impressive!
The two little coils would be hidden up under the fuel tank out of the way.
The final thing I like to do before putting the timing cover on, is to take a photo of the oil pump seal.
Then, when I ask myself the question “did I put it on?” I can check to make sure there is a picture of it, which puts my mind at ease!
Categories: motorcycles